2013-12-18

Gingerbread House ☃☃❄

December is my favourite month of the year! I have got lots of Christmas baking ideas I would love to make, gingerbread house is first on the list :-D I changed last year's ginerbread house recipe a little bit by using black treacle, I really like the subtle caramel flavour from the black treacle, it goes so well with the spices in the cookies.

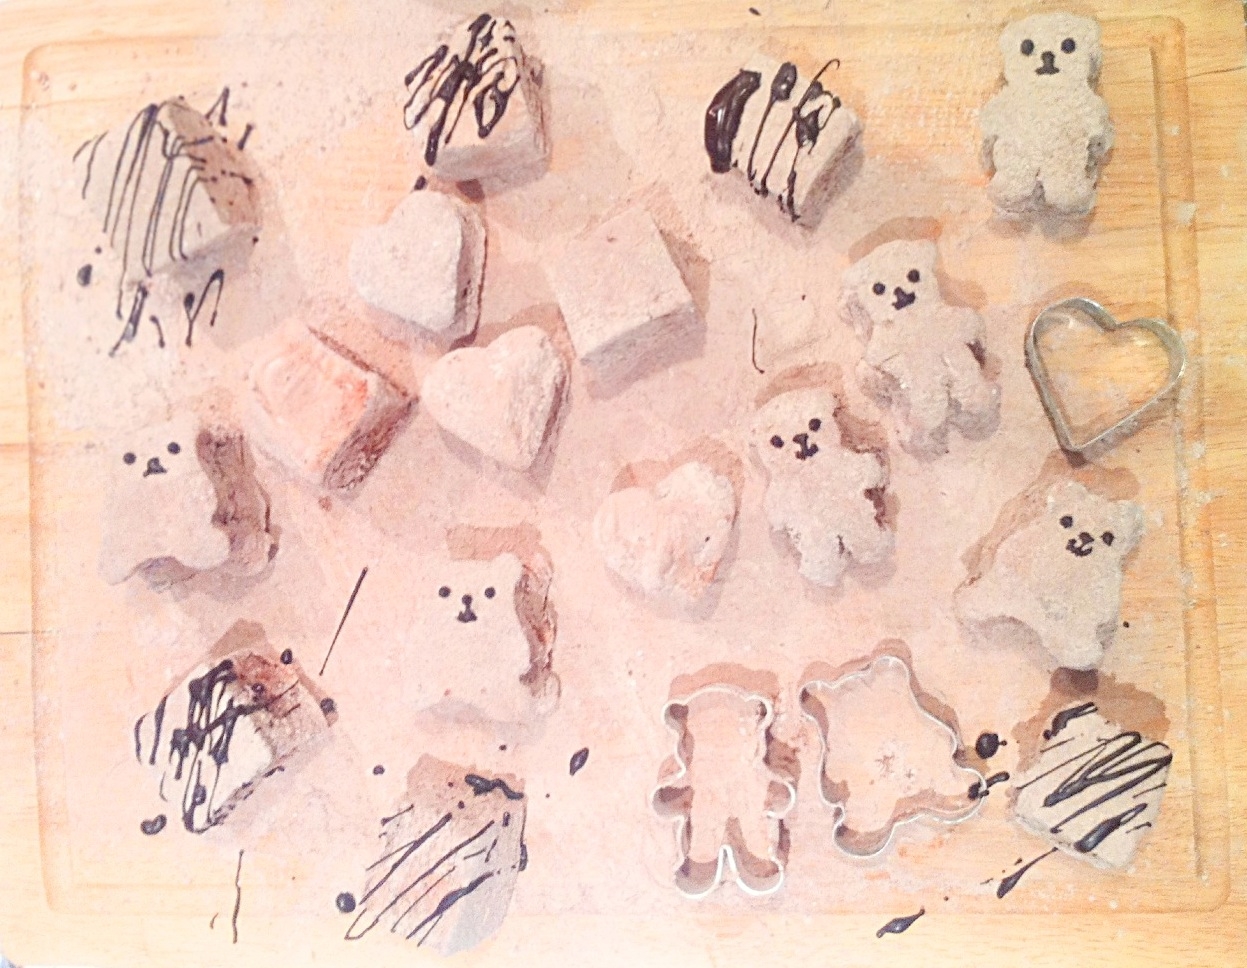
I only managed to bake all the pieces for the gingerbread house, but didnt have enough time to build it before Kristina's Christmas Party, Kristina is now going to take this home to her family : ) one of her friends suggested maybe i could have just brought the pieces to the party, so everyone can build together, i will prob try next year :-P

Cherie Kelly's Gingerbread House

Gingerbread House


For the Gingerbread House

250g unsalted butter
180g dark muscovado sugar
7 tbsp black Treacle
580g plain flour
2 tsp bicarbonate of soda
4 tsp ground ginger
2 tsp cinnamon
2 tsp nutmeg
2 tsp mixed spice

For the Decoration

1 bag of marshmallow (or selection sweets of your choice)
1 tube of 125g jelly diamonds (or selection sweets of your choice)
4 candle canes (or selection sweets of your choice)

2 egg whites
480g icing sugar
A Gingerbread House template (A4 size below)
Cherie Kelly's Gingerbread House Templates

Methods

1. Preheat oven to 180C.
2. Melt the butter, sugar and treacle in a pan.
3. Mix the flour, bicarbonate of soda, ground ginger, cinnamon, nutmeg and mixed spice into a large bowl.
4. Stir in the melted butter mixture to make a soft and smooth dough. If the dough is bit dry, add a tiny splash of water for the dough to come together,
5. Prepare and cut out the template of two side walls, a front and back wall and two roof panels.
6. Put a sheet of baking paper on your work surface and roll about one quarter of the dough to 0.8cm thick.
7. Cut out one of the sections according to the template, then slide the gingerbread onto a baking tray lined with baking sheet.
8. Repeat with remaining dough, re-rolling the trimmings, until you have two side walls, a front and back wall and two roof panels.
9. Any leftover dough can be cut into Christmas trees/gingerbread man/stars.
10. Bake all the sections for 10 mins, turn and bake the other side for 5 mins until firm and just a little darker at the edges.
11. Leave to cool for a few mins to firm up, then trim around the templates again to give clean, sharp edges. Leave to cool completely.
Cherie Kelly's Gingerbread House


12. Put the egg whites in a large bowl, sift in the icing sugar, then stir to make a thick, smooth icing. Spoon into a piping bag with a medium nozzle.
13. Pipe the decorations on the house before it is assembled.
14. Pipe the windows, roof tiles, doors or any design of your choice over the outside of the house. Stick the sweets onto the walls and door of the house with some icing.
Cherie Kelly's Gingerbread House


15. Leave them to dry completely.
16. To assemble, pipe a thick line of icing along the wall edges, one by one, to join the walls together.
14. Use a small mug/bowl/box to support the walls from the inside, then allow to dry completely.
15. Once dry, remove the supports and fix the roof panels on. The angle is steep so you may need to hold these on firmly for a few mins until the icing starts to dry. Dry completely, ideally overnight.
16. Dust the roof with icing sugar and edible glitter for a snowy effect.
17. Your gingerbread house will be edible for about a week but will last a lot longer.

Cherie Kelly's Gingerbread House


2013-12-09

Despicable Me 2 Minion Cake

I have got into this Minion Fever since I first made the Minion Cake for Kayden, I was so looking forward to the release of Despicable Me 2 DVD after I watched the first one, and I want to make all cakes and cupcakes with Minions! I was very happy when I get to make this Minion Cake for Aryan & Maryam's birthday the weekend before :-D

Cherie Kelly's Despicable Me 2 Minion Cake


The cake was in alternate chocolate and banoffee layers with chocolate buttercream and ganache, it was so fun to make : )
Cherie Kelly's Despicable Me 2 Minion Cake

Next Minion cake I would like to make would be Minion Cupcakes like the one Minion Dave made in the movie! :-O


2013-12-01

Homemade Teddy Bear Chocolate Marshmallows ( 'ェ' )

I have seen comments about how homemade marshmallows taste so much better than store-bought one, I totally agree after I made some myself, the homemade ones are so much softer, more fluffy, more airy and less sweet! These yummy springy pillow-soft marshmallows are very easy to make, the longer you whisk the mixture the more fluffy the marshmallows are, a stand mixer really helps : )


Cherie Kelly's Bear Chocolate Marshmallows

Chocolate Marshmallows

Ingredients

Marshmallow Dusting

2 tbsp confectioners sugar
2 tbsp corn flour
2 tbsp cocoa powder

Gelatin Mixture

24g powered gelatin
90ml water
2 tbsp vanilla bean extract
2 tbsp chocolate extract

Sugar Syrup

310g sugar
90ml water
150ml light corn syrup (you can find this from American grocery)
1/4 tsp salt

Cocoa paste

30g cocoa powder
60ml hot water

Utensils

8 inches square tin
cookie cutters
candy thermometer

Method

1. Grease and line the tin with baking parchment, lightly dust with marshmallow dusting.

2. Fit a stand mixer with the whisk attachment. Put the water and extract in the mixing bowl, sprinkle the powdered gelatin over the liquid to soften.
3. Put the water, sugar, salt and light corn syrup in a heavy saucepan, bring to a boil with the lid on and without stirring. Remove the lid When the sugar syrup starts to boil, continue to cook without stirring until it reaches 115C.

4. Attached the splash guard to the mixing bowl, Carefully pour 1/4 of the hot sugar syrup into the gelatin mixture, whisk at low speed for half a min until the gelatin are dissolved. Pause and pour in the remaining hot sugar syrup, whisk the mixture at medium speed for a min, then bring to high speed and whisk for 10 mins until the marshmallow is stiff and fluffy.

5. In a small bowl, dissolve the cocoa powder with hot water. Stir in 4 tablespoon of the marshmallow mixture and mix until incorporated.
6. Add the cocoa mixture back into the marshmallow, slightly fold them together to create a marble effect.
7. Pour the cocoa marshmallow mixture into the prepared tin, smooth the top with a knife.

8. Allow the mixture to sit uncovered at room temp for 12 hours. Do not refrigerate the marshmallows.
9. Turn the marshmallow out onto a dusted cutting board, peel off paper and dust with more marshmallow dusting.

10. Dip cookie cutters with some marshmallow dusting and cut marshmallow out into desired shape.

11. Store marshmallows in an airtight container at cool room temperature for up to 2 week. Enjoy!
Cherie Kelly's Bear Chocolate Marshmallows